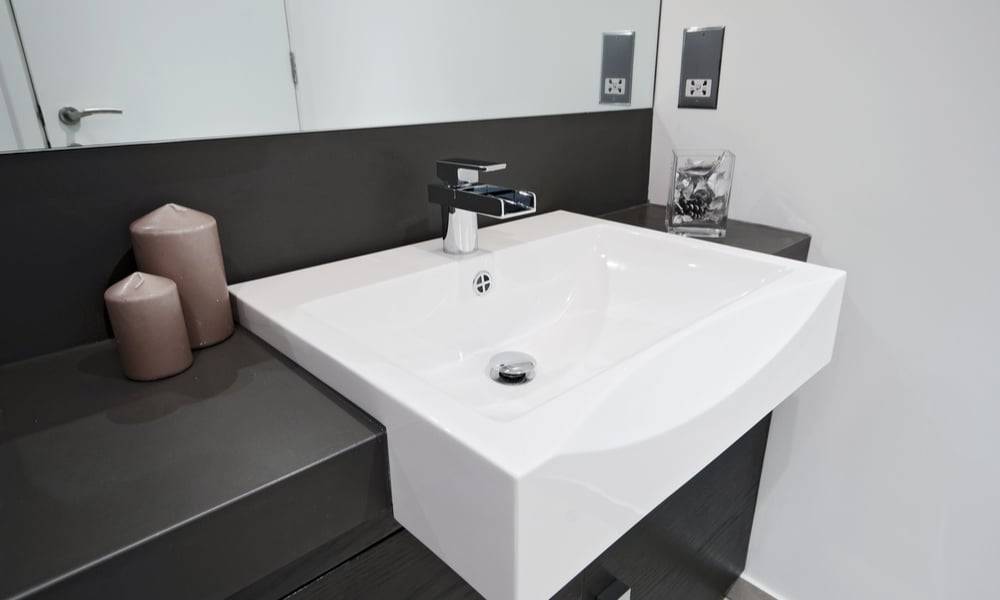
The bathroom drain assembly connects the P-trap drain to the sink while plumbing. The drain assembly comes with a stopper, also known as a pop-up, and the flange. Experts in the field like E industrial Engineering, say if not done properly it can mean life long repair bills and stress. These are the parts visible in the bathroom sink. The drain tube is the long tube or pipe under the sink. It is the main body of the assembly. The ball-and-rod assembly helps to move the sink stopper up and down.
You must clean the sinkhole properly before installing a new bathroom drain assembly. In addition, it helps to remove any old calcium deposits or putty that has dried. A bathroom drain assembly can be made of different materials. Traditionally, a drain assembly was made of metal, like copper or brass. However, PVC or plastic is a widely used material today as it is easier to install and cheaper. Installing a bathroom drain assembly can be a technical job if you do not understand its components. We shall understand the entire process through this article. Also, to solve your bathroom drain problem contact the bathroom specialists for best solution.
Steps involved in installing a Bathroom Drain Assembly:
Here are the main steps needed to install a new Bathroom Drain Assembly-
1. You start unscrewing the flange and separating it from the drain piece. You must now remove the sink stopper.
2. You will find a nut on this drain piece. You need to screw it deep down to install it through the sinkhole.
3. Get hold of the plumber’s putty and turn it into the shape of a rope. Roll it around the bottom of the flange. The flange will now be screwed to the threads of the drain piece. Its bottom will be kept out.
4. The flange needs to be pushed down towards the sinkhole. The drain piece will now be rotated to bring the pop-up ball socket facing the backside of the sink. Now screw the mounting nut tightly so that the rubber compression washer becomes tight. Avoid over-tightening and keep holding the drain piece with a plier while screwing the nut.
5. Next, the stopper needs to be installed through the flange hole. The flat flange needs to face the back of the sink.
6. The mounting nut needs to be removed from the rear of the T’ ball socket joint.
7. The rod seal must be installed now. First, you must make sure that the end of the rod passes through the hole of the flange. Now tighten the nut.
8. The back of the rod needs to be lifted to the highest position. The bottom lift-strap must be installed through the hole. The lowest possible hole needs to be used so that the top of the strap does not touch the sink’s bottom. The second end of the clip will now be installed.
9. Now, the ball-rod will be lowered to install the lift-rod through the faucet hole. The lower lift-strap screw will be tightened using an adjustable wrench.
10. Now, the P-trap slip nut will be installed onto the drain piece tail keeping the thread-side down. Next, the nylon slip washer will be installed.
11. The last step involves the installation of the P-trap to the drain piece, pushing the washer, slipping the nut down, and installing it onto the P-trap.
12. You may now turn on the faucet. See if there are any leaks.
Conclusion:
Knowing about the bathroom drain assembly will help you install it with ease. You can check for any leaks and replace them quickly. In addition, you can easily understand all the plumbing parts and take corrective actions accordingly.
My name is Sardar Ayaz a professional content writer and SEO expert having Proven record of excellent writing demonstrated in a professional portfolio Impeccable grasp of the English language, including idioms and current trends in slang and expressions. I have ability to work independently with little or no daily supervision with strong interpersonal skills and willingness to communicate with clients, colleagues, and management.
I can produce well-researched content for publication online and in print, organize writing schedules to complete drafts of content or finished projects within deadlines. I have 12 years’ experience to develop related content for multiple platforms, such as websites, email marketing, product descriptions, videos, and blogs.
I use search engine optimization (SEO) strategies in writing to maximize the online visibility of a website in search results
